
How does a digitizing embroidery service work?
Embroidery may look simple when you see a finished logo stitched onto a shirt, cap, jacket, or bag. Behind that clean design, however, there is usually a detailed digital process that tells an embroidery machine exactly what to do. A digitizing embroidery service turns artwork into a stitch-based file that an embroidery machine can read and reproduce on fabric.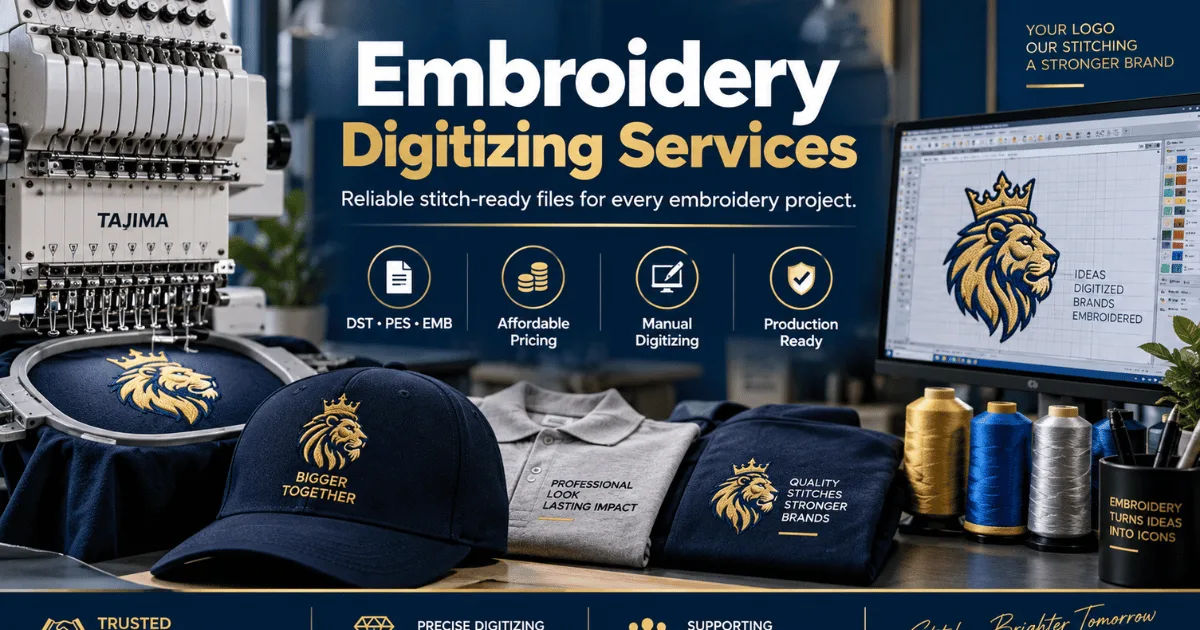
This process is much more than simply converting an image from JPG or PNG into another file format. The artwork has to be analyzed, suitable stitch types have to be selected, stitch directions need to be planned, and details must be adjusted according to the fabric and final embroidery size.
For someone new to embroidery, the process can seem complicated. In practice, it follows a fairly logical sequence. The quality of the original artwork matters, but the skill of the digitizer often makes the biggest difference between embroidery that looks professional and embroidery that looks messy.
What Is Embroidery Digitizing?
Embroidery digitizing is the process of converting artwork, lettering, logos, or other graphics into a digital embroidery file.
A normal image contains pixels, shapes, colors, or lines. An embroidery machine does not understand those elements in the same way. Instead, it needs instructions about where the needle should enter the fabric, where it should move, how many stitches should be used, and when the thread should change.
The digitizing process creates those instructions.
The finished file may contain information about stitch placement, stitch density, thread changes, underlay, stitch direction, trims, jumps, and other machine movements.
This is why simply saving an image as a DST file does not create proper embroidery. The artwork needs to be professionally prepared for stitching.
What Does a Digitizing Embroidery Service Actually Do?
A digitizing embroidery service takes customer artwork and converts it into a machine-readable embroidery design.
The service normally begins with an artwork review. The digitizer looks at the design, its size, colors, text, small details, and the type of fabric where it will be embroidered.
After that, the artwork is recreated using embroidery objects and stitch sequences.
Different sections of the design may require different stitch types. Large areas may use fill stitches, borders may use satin stitches, and small details may require running stitches.
The digitizer also decides the order in which each section will be embroidered.
That order is important because embroidery is built layer by layer. A poor sequence can cause unnecessary thread jumps, visible overlaps, distortion, or registration problems.
Step 1: Reviewing the Original Artwork
The first stage is artwork inspection.
A professional digitizer checks whether the supplied image is suitable for embroidery. The image might be a high-resolution PNG, JPG, PDF, AI, SVG, or another format.
The original file does not necessarily need to be perfect. A skilled digitizer can often work from relatively poor artwork. However, clean artwork makes the process easier and can reduce the amount of manual reconstruction required.
The digitizer normally examines:
-
Overall design shape
-
Number of colors
-
Small details
-
Text size
-
Fine lines
-
Borders
-
Gradients
-
Shadows
-
Intended embroidery size
-
Fabric type
-
Placement of the design
This evaluation helps determine how the design should be handled.
For example, a logo that looks excellent at six inches wide may become unreadable when reduced to two inches. A professional digitizer has to identify those problems before the design reaches the embroidery machine.
Step 2: Choosing the Final Embroidery Size
Size is one of the most important parts of the process.
Embroidery does not behave like ordinary digital printing. You cannot always shrink or enlarge a design without making adjustments.
When a design becomes smaller, tiny details may disappear. Letters may become too narrow, spaces between elements may close, and stitches can become crowded.
When a design becomes larger, some areas may require additional underlay or different stitch settings to keep the embroidery stable.
A digitizing embroidery service therefore considers the intended finished size before creating the stitch file.
The digitizer may also create separate versions of the same logo for different applications. A large jacket-back design can require different settings from a small left-chest logo.
Step 3: Separating the Artwork Into Sections
Once the artwork has been evaluated, it is divided into individual embroidery objects.
A logo might contain:
-
Large background areas
-
Outlines
-
Text
-
Borders
-
Small symbols
-
Decorative details
-
Multiple color sections
Each part needs to be digitized separately.
The digitizer decides which areas should overlap and which should sit beside each other.
This is where experience becomes important. Two designs can contain the same artwork but produce very different embroidery results depending on how the objects are constructed.
Step 4: Selecting the Right Stitch Types
Different parts of a design require different stitches.
Running Stitch
Running stitches are commonly used for thin lines, outlines, small details, and certain lettering.
The needle moves along a defined path, creating a relatively fine embroidered line.
Running stitches are useful when a detail is too narrow for a satin or fill stitch.
Satin Stitch
Satin stitches are often used for borders, lettering, narrow shapes, and smooth decorative sections.
They create a dense, slightly raised appearance.
The width of the object matters. If a satin column is too wide, the result may become unstable. If it is too narrow, the stitch may not produce the desired coverage.
Fill Stitch
Fill stitches are used to cover larger areas.
Instead of creating one long embroidered line, the machine fills an area with rows of stitches.
The digitizer has to consider stitch density, direction, spacing, and underlay when creating these areas.
Step 5: Planning Stitch Direction
Stitch direction is one of the details that can make embroidery look professional.
A digitizer does not simply fill every area with stitches running in the same direction.
The direction can be changed to create visual texture, improve coverage, and make the design follow the shape of the artwork.
For example, a curved leaf may look better with stitches following the natural direction of the leaf rather than running horizontally across it.
Text may also need different stitch directions depending on the letter shape.
Experienced digitizers use stitch direction to make the embroidery look more natural and dimensional.
Step 6: Adding Underlay Stitches
Underlay is another important part of professional embroidery.
Underlay stitches are placed underneath the visible stitches. They help stabilize the fabric, support the top layer, and improve coverage.
Without appropriate underlay, embroidery may look weak or uneven.
The exact underlay depends on the fabric, design, stitch type, and size.
A lightweight shirt, thick jacket, cap, and fleece garment do not necessarily need identical settings.
This is one reason a good digitizing embroidery service does not rely on a single automatic setting for every project.
Step 7: Managing Stitch Density
Stitch density refers to how closely stitches are placed together.
Too little density can leave fabric showing through the design. Too much density can create problems such as stiffness, thread breaks, puckering, and excessive thread buildup.
The digitizer must find a practical balance.
Density also depends on the fabric. A design embroidered onto a stable woven material may behave differently from the same design stitched onto stretchy knit fabric.
This is why professional digitizing requires judgment rather than simply pressing an automatic conversion button.
Step 8: Choosing the Stitch Sequence
The order of stitching is another major part of digitizing.
An embroidery machine follows the sequence contained in the digital file.
The digitizer determines which object should be stitched first, second, third, and so on.
A sensible sequence can reduce unnecessary movement and thread changes.
It can also help control overlapping sections and improve registration.
Poor sequencing can result in excessive jumps, messy trims, visible overlaps, and alignment problems.
A good digitizer plans the sequence with the final embroidered product in mind.
Step 9: Adding Color Changes
Multicolor embroidery requires careful thread planning.
The digitizer assigns thread colors to different objects and places color changes at appropriate points in the sequence.
The selected digital color may also need to correspond to a real embroidery thread system used by the customer or embroidery shop.
Popular thread systems can have different color codes and names.
The goal is not simply to make the screen version look attractive. The digitizer needs to create a practical embroidery file that can be produced using actual thread.
Step 10: Handling Small Details
Small details are among the hardest elements to digitize.
A thin line that is clearly visible in a large digital image may not survive when stitched onto fabric.
Tiny letters can be especially challenging.
If the lettering is too small, stitches can overlap and create a solid, unreadable shape.
For this reason, a digitizing embroidery service may simplify certain details when necessary.
This does not mean the digitizer is damaging the logo. It means the artwork is being adapted to the physical limitations of embroidery.
Sometimes removing a tiny decorative line produces a much cleaner result.
Step 11: Accounting for Fabric Type
The fabric has a direct effect on embroidery quality.
Cotton, denim, fleece, polyester, canvas, caps, jackets, towels, and stretchy garments all behave differently.
A digitizer needs to consider how the material will react to needle penetration and thread tension.
Stretchy fabrics may require additional stabilization.
Caps have curved surfaces and limited sewing areas.
Towels have a textured surface that can hide small details.
Heavy fabrics may handle dense embroidery better than lightweight materials.
This is why the same artwork may need adjustments for different products.
Step 12: Creating the Machine File
After the design has been digitized, it is saved in a machine-compatible format.
Common embroidery formats include DST, PES, JEF, EXP, VP3, and others.
The correct format depends on the embroidery machine.
It is important to understand that the file format is only the container for the embroidery instructions. Changing a JPG extension to DST does not perform digitizing.
The actual stitch information must be created first.
Step 13: Checking the Design Digitally
Before sending the file to production, the digitizer usually checks the design using embroidery software.
A digital simulation can reveal obvious problems.
The digitizer can inspect stitch order, thread changes, density, jumps, trims, and overall appearance.
This stage is valuable because problems are much easier to correct digitally than after dozens of garments have already been embroidered.
Step 14: Testing the Embroidery
For important designs, a physical sew-out is highly recommended.
A sew-out means stitching the design onto the actual or similar fabric before full production.
This provides information that a computer preview cannot always provide.
The test can reveal:
-
Puckering
-
Poor registration
-
Thread breaks
-
Excessive density
-
Weak coverage
-
Small unreadable details
-
Incorrect stitch direction
-
Fabric distortion
The digitizer can then make adjustments.
In my experience, this testing stage is particularly useful for complicated logos and designs intended for commercial production.
Why Manual Digitizing Often Produces Better Results
Automatic conversion tools can be useful for simple graphics, but they have limitations.
Software can recognize shapes and generate stitches quickly. It does not always understand how fabric will behave.
A human digitizer can make decisions based on the actual purpose of the design.
They can decide that a tiny line should be removed, that a particular section needs lighter density, or that a curved object should use a different stitch direction.
Manual work takes more time, but that time can be worthwhile when the design needs to look professional.
What Happens After the File Is Delivered?
Once the embroidery file has been completed, it is usually delivered to the customer in the requested format.
The customer or embroidery operator can then load the file into the appropriate machine.
Depending on the service, the customer may receive one format or several formats.
Some providers also offer revisions if the first sew-out reveals a problem.
It is useful to confirm these details before ordering, especially when the design will be used for large production runs.
How Long Does Embroidery Digitizing Take?
The turnaround time depends on the complexity of the artwork.
A simple one-color logo may be completed relatively quickly.
A detailed multicolor logo with small lettering, gradients, shading, and complicated shapes can require considerably more work.
Urgent services may also be available, although rush orders can cost more.
The important point is that complexity matters more than the image file's physical size.
A small but highly detailed logo can take longer to digitize than a large, simple emblem.
How Much Does a Digitizing Service Cost?
Pricing varies between providers.
Simple logos are generally less expensive than complex artwork.
Factors that can affect pricing include:
-
Design complexity
-
Number of stitches
-
Number of colors
-
Final design size
-
Required turnaround time
-
Number of revisions
-
Type of artwork
-
Special embroidery techniques
Some companies charge a flat rate, while others base pricing partly on stitch count or design complexity.
It is worth comparing what is included rather than choosing a service based only on the cheapest advertised price.
How to Choose a Good Digitizing Embroidery Service
A good provider should be able to explain how the artwork will be prepared.
Look for examples of actual embroidered work rather than only digital previews.
A portfolio can show whether the provider understands lettering, small details, stitch direction, density, and different fabrics.
Customer reviews can also be useful, especially when they mention actual production results.
It is also worth asking whether revisions are included.
A reliable digitizing embroidery service should be willing to correct reasonable technical problems rather than treating the first file as automatically perfect.
Common Mistakes to Avoid
One common mistake is assuming that every image can be converted automatically.
Another is providing the wrong finished size.
Some customers also expect embroidery to reproduce photographic details exactly.
Embroidery is different from printing. It uses thread, and thread has physical limitations.
Trying to force too many tiny details into a small design can produce a poor result.
Another mistake is skipping the sew-out for a large production order.
Spending a little time testing the design can prevent much larger production problems later.
When Should You Use Professional Digitizing?
Professional digitizing is especially useful when the design will be used commercially.
Businesses, clothing brands, sports teams, schools, clubs, promotional companies, and uniform suppliers often need consistent embroidery across many products.
If a logo will appear on hundreds of shirts or jackets, the embroidery file becomes an important production asset.
A professionally prepared file can help maintain consistency between garments and different production runs.
It can also reduce troubleshooting for the embroidery operator.
PSA Digitizing helps bring digital artwork to life through professional embroidery digitizing. We convert logos, illustrations, and other artwork into clean, stitch-ready files such as DST, PES, JEF, and additional popular formats. Located in Clarkston, Georgia, USA, our team uses a combination of hands-on expertise and modern digitizing technology to create embroidery files that are accurate, detailed, and ready for production.
We take pride in offering dependable service, competitive pricing, and quick turnaround without sacrificing quality. Our strong 4.5+ star Trustpilot rating shows the trust we've developed among embroidery businesses, apparel professionals, and hobbyists. Whether you're preparing a company logo, ordering custom patches, or simply need a design for your embroidery machine, PSA Digitizing is here to make things easier. Visit psadigitizing.com and get started with your design.
Conclusion
Understanding how a digitizing embroidery service works makes it easier to appreciate what goes into a professional embroidered logo. The process begins with artwork inspection and continues through sizing, object creation, stitch selection, stitch direction, underlay, density, sequencing, color management, and machine-file preparation.
The goal is not simply to turn a picture into a file. The real goal is to translate artwork into instructions that work correctly with thread, needles, fabric, and an embroidery machine.
A good digitizer considers the physical side of embroidery at every stage. They understand that a design that looks perfect on a computer screen may require changes before it can produce clean stitches on fabric.
The best results usually come from combining suitable artwork with careful manual digitizing and, when appropriate, physical testing. Small details may need to be simplified, stitch densities may need adjustment, and different fabrics may require different settings.
For simple designs, the process can be relatively straightforward. Complex logos, small lettering, curved shapes, multicolor artwork, and detailed graphics require considerably more judgment.
That is why choosing an experienced digitizing embroidery service can make a noticeable difference in the finished product. A properly digitized design should not only look good in software. It should stitch cleanly, remain readable, hold its shape, and suit the material on which it will be embroidered.
Once you understand this process, embroidery digitizing becomes much less mysterious. It is essentially the bridge between artwork and physical stitching, turning a visual idea into a carefully planned sequence of needle movements that an embroidery machine can reproduce accurately.